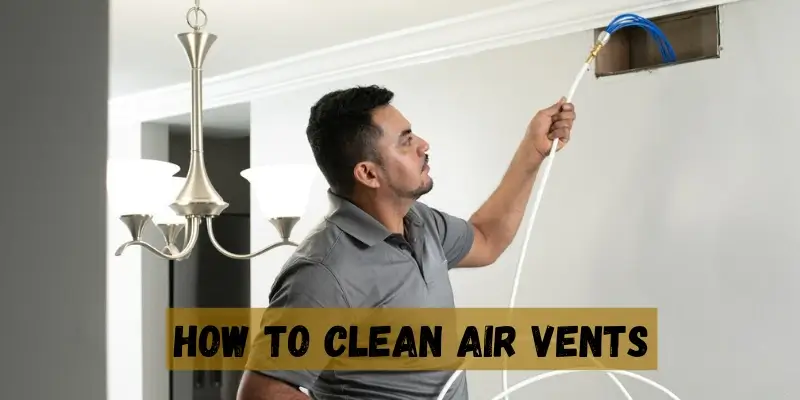
Are you tired of sneezing, coughing, or constantly feeling like the air in your home is stuffy? It might be time to give your air vents some much-needed attention. Cleaning air vents is an essential part of maintaining a healthy indoor environment. In this guide, we’ll walk you through the simple steps to clean air vents effectively and improve the air quality in your home. Plus, stay tuned to the end to discover how United Air Duct Cleaning and Restoration Services in Katy, TX, can help you with professional air duct cleaning.
Why Clean Your Air Vents?
Before we dive into the cleaning process, let’s understand why it’s important to clean your air vents. Over time, dust, dirt, pet dander, and other contaminants accumulate in your air ducts and vents. When the air circulates through these dirty vents, it can lead to several issues:
- Health Concerns: Dust and allergens can exacerbate allergies and respiratory problems, making it uncomfortable for your family members, especially if they suffer from asthma or allergies.
- Reduced Energy Efficiency: Clogged vents force your HVAC system to work harder, increasing energy consumption and utility bills.
- Foul Odors: Accumulated debris in air vents can lead to unpleasant odors circulating throughout your home.
- Decreased Lifespan of HVAC System: The strain on your HVAC system caused by dirty vents can shorten its lifespan and lead to costly repairs.
Tools You’ll Need
Before getting started, gather the following tools:
- Screwdriver
- Vacuum cleaner with a hose attachment
- Microfiber cloth or duster
- Broom and dustpan
- Disposable dust mask (if you have allergies or sensitivities)
- A flashlight
Step-by-Step Air Vent Cleaning
Follow these simple steps to clean your air vents:
- Turn Off the HVAC System
Begin by turning off your heating and cooling system to prevent any debris from circulating during the cleaning process.
- Remove Vent Covers
Use a screwdriver to carefully remove the vent covers from the walls or ceiling. Place them in a safe spot.
- Vacuum the Ducts
Insert the hose attachment of your vacuum cleaner into the duct as far as it will go and carefully vacuum away dust and debris. If you can’t reach far enough, consider using a flexible attachment or a duct cleaning brush.
- Wipe the Vent Covers
Use a microfiber cloth or duster to clean the removed vent covers thoroughly. Make sure to remove all dust and dirt. You can also wash them with mild soap and water if they are particularly dirty.
- Sweep the Surrounding Area
While you have the vent covers off, take the opportunity to sweep the area around the vents. This will help prevent dust and dirt from entering the ducts again.
- Replace Vent Covers
Once everything is clean and dry, reattach the vent covers securely.
- Turn On the HVAC System
Finally, turn your heating and cooling system back on, and enjoy the improved air quality in your home.
Table: Frequency of Air Vent Cleaning
| Type of Area | Recommended Cleaning Frequency |
| Residential Homes | Every 2-5 years |
| Commercial Spaces | Annually |
| Pet-Friendly Homes | Annually |
| High Allergy Areas | Annually |
Professional Air Duct Cleaning in Katy, TX
While the steps above are effective for routine maintenance, it’s also a good idea to schedule professional air duct cleaning every 2-5 years, especially in homes with pets or allergies. United Air Duct Cleaning and Restoration Services in Katy, TX, offers expert air duct cleaning services. Our experienced technicians use state-of-the-art equipment to remove dust, allergens, and contaminants from your air ducts, ensuring a healthier indoor environment for you and your family.
In conclusion, regular air vent cleaning is a simple but essential task to maintain a healthy and comfortable home. By following the steps mentioned in this guide, you can enjoy better air quality and energy efficiency. If you’re in Katy, TX, and need professional air duct cleaning services, don’t hesitate to contact United Air Duct Cleaning and Restoration Services. Breathe easier and live healthier with clean air vents!


